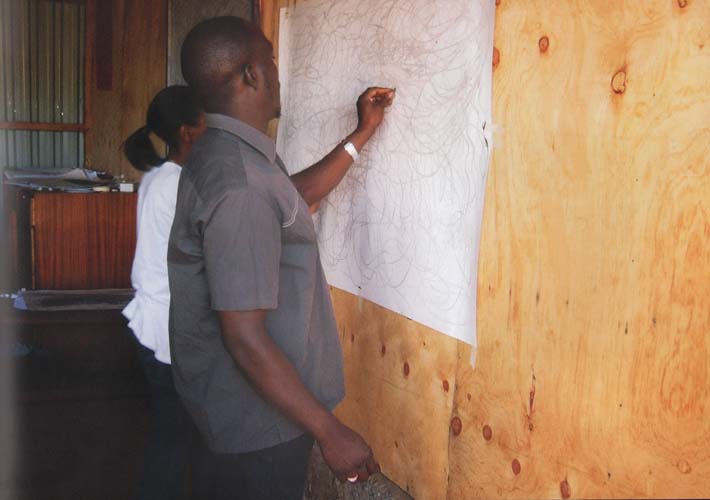
‘Joined exercise with closed eyes and with one ball of clay per child.’
Materials needed for one drawing exercise
Paper: 65 x 50 cm. 160 grams / for drawing (120 grams is also an option)
Charcoal: 2 sticks of charcoal per child, which they break into 6 pieces of 4,5 cm each
Tape: tesa tape
Materials for clay exercises
A ball of clay the size of a tennis ball or a size which will fit in a child’s hand (somewhat dependent on the child’s age).

The children can also flatten or roll the clay on the board lying between them
Clay-board 25 x 35 cm. Sawn out of MDF or coated block board
If the children are going to make a drawing afterwards:
paper size 65 x 50 cm, 160 grams will be best
Crayons: 4 crayons (white, sienna, blue, black)
Tape: tesa tape or other type
For a number of joint exercises (9.3, 9.4, 9.5 and 9.8) a maximum of 4 crayons (see photo) are needed to make a drawing with closed eyes with the non-dominant hand after the meditation on an object brought from home.
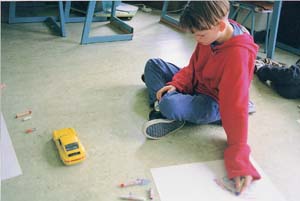
Extra requirements:
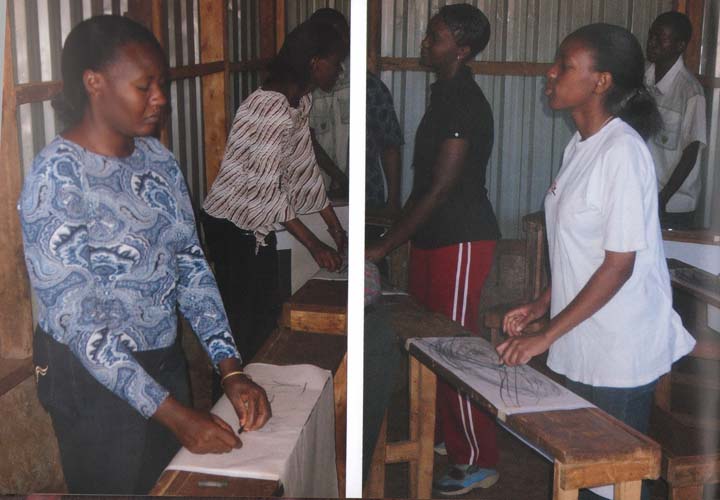
- Tables to stand at while the children or adult participants carry out the drawing exercises.
- Small sandwich bags for storing the balls of clay.
- Small sandwich bags should the children wish to take the clay object home.
- If necessary old pieces of material for the children to wipe their hands after washing them after claying.
The most practical way is for you as the coach to lay out all the balls of clay on a large piece of (plastic) cloth before the lesson. Water from a tap or in a bucket is useful.
Didactic preparations for a lesson from ‘the Timeless Hour’ are clearly illustrated in the YouTube films which can be found in the MENU under PRESENTATIONS.
The children can then take the boards and balls of clay to their workplace at the start of the lesson.
You use tape to fasten the drawing paper to a support or to the floor of the class room.
Make sure that you give the children the right instructions when they fasten the drawing paper for the first time:
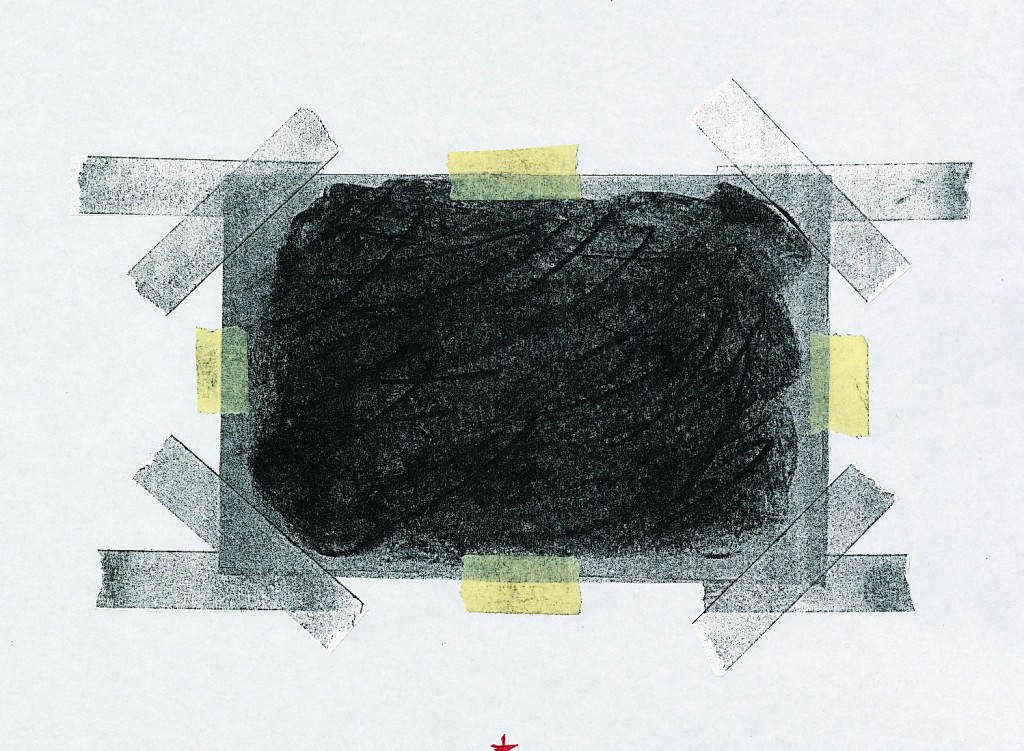
First tear off four separate pieces of tape of about 5 cm length. Tell the children that they first need to lay down the paper in the correct way at the correct side (for instance the side of the non-dominant hand).
Then they put the piece of tape diagonally across the corners of the paper in such a way that a piece of tape of the same length sticks out at both sides. Then they firmly press the tape down onto the drawing board or the floor.
By rubbing your fingers over the tape it will stick better. The rubbing makes the glue on the tape become warm and makes it stick much better.
This will prevent the paper from coming loose during the drawing and also prevents frustration due to sheets of paper moving.
Larger drawing boards can also be used, as can be seen in the picture.
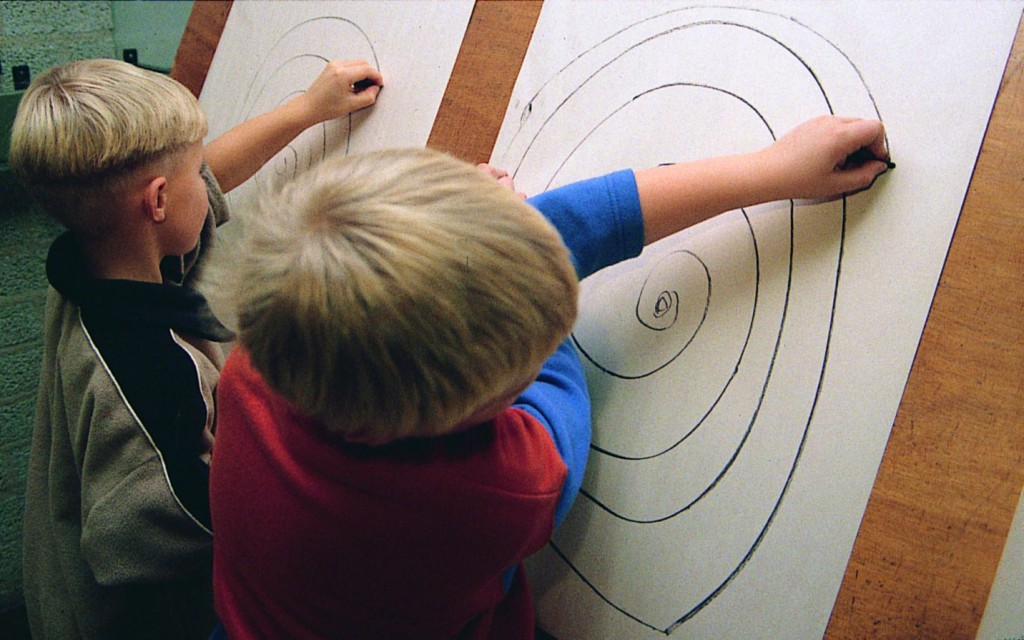
‘Group teachers and artists standing while working on a large joint drawing on a large drawing board. Partially with closed eyes and the non-dominant hand and later with eyes open.’ Nairobi / Kenya. Foto Cas Roseboom.
